How to Darken Colored Pencils Just like A Pro
If you have ever finished a colored pencil drawing and felt frustrated because the colors look too light and flat, then you are not alone.
A lot of people make this mistake. They think pressing harder is the answer, but it’s not.
So, if you want your colored pencil art to pop with deep, rich tones, then you must have to learn how to darken your colors the right way.
And that is exactly what I am going to show you step by step in this article.
Let’s get started!
How to Darken Colored Pencils?
To darken colored pencils you have to choose the right paper for coloring, pick the right pencils, start coloring with layering and in layering you have to use complementary colors.
Only apply pressure at the end and also don’t forget to use the burnish and blending at the end to get perfect dark colors.
Choose the Right Paper
The very first step is to choose the right paper to get rich, dark colors with pencils.
Most beginners overlook this step and that’s why their drawings stay dull no matter how hard they try.
So, the regular print paper will not work. You have to use heavyweight paper, at least 80 lb (120 gsm) or more.
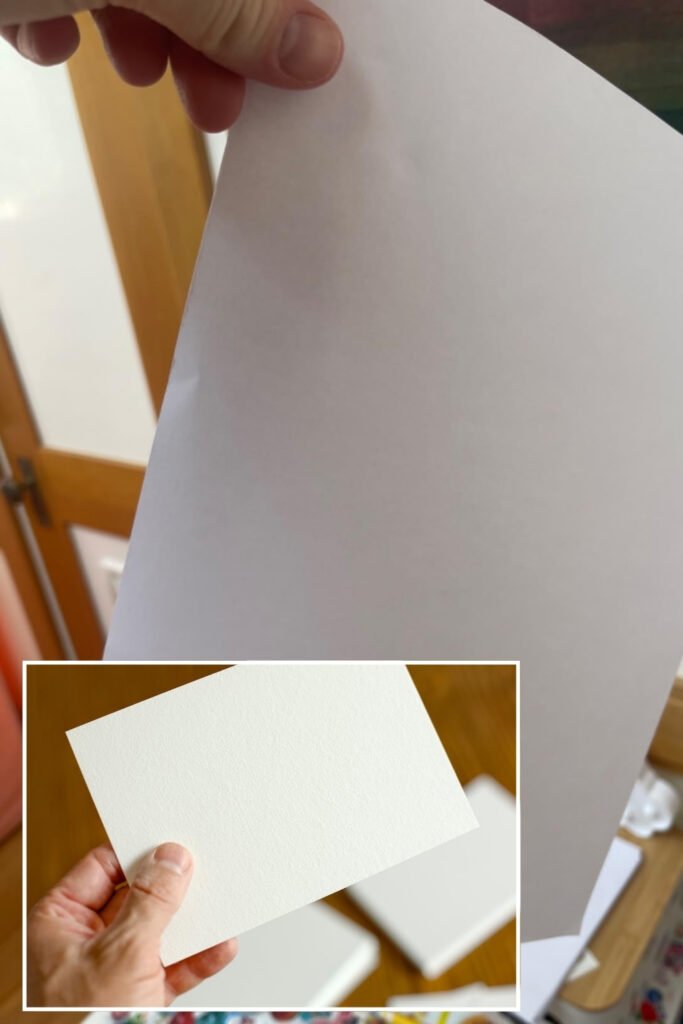
It will give your pencil a solid base and will prevent tearing when you add layers.
The paper tooth also matters. You should pick a paper with a slight tooth, just enough texture to grip the pigment, but not so rough that it ruins blending.
So, look for hot press watercolor paper or a smooth Bristol board. These papers hold multiple layers beautifully and let you burnish without damaging the surface.
Note: If you skip this step, no technique will save your colors. The right paper is the foundation.
Pick the Right Pencils
Not all the colored pencils are made equal. If you grab cheap student-grade pencils or hard-core ones you are setting yourself up for failure.
These pencils simply can’t lay down enough pigment no matter how hard you press. So, you have to use the soft-core, highly pigmented pencils.
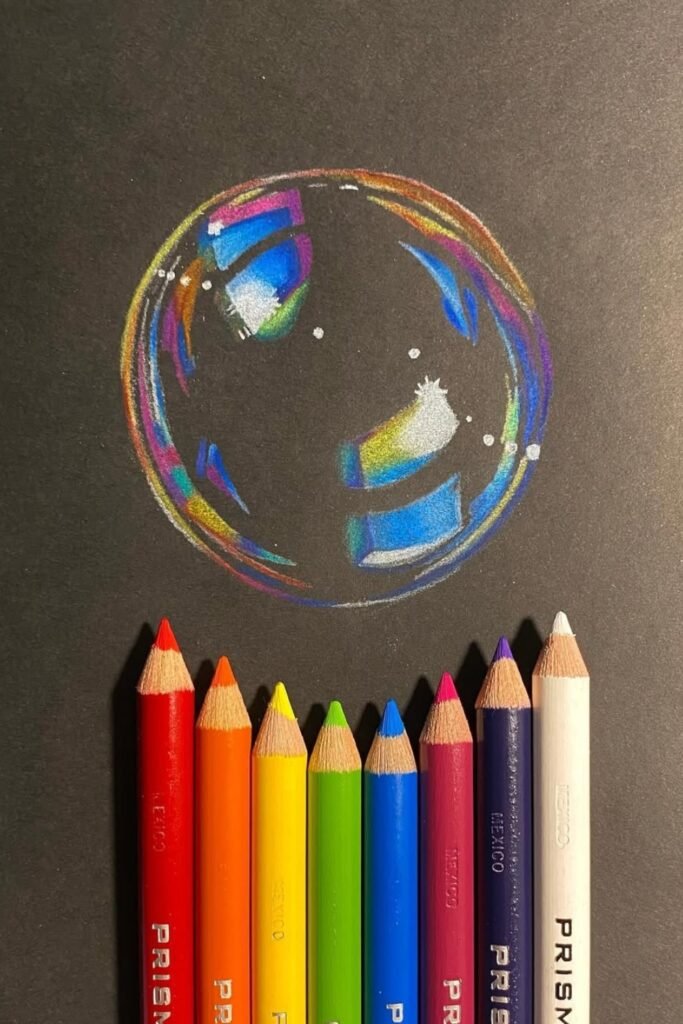
Brands like Prismacolor Premier, Faber-Castell Polychromos, or Caran d’Ache Luminance are trusted for this reason.
These pencils release more pigments with less effort, and allow you to build deep, rich layers. Furthermore, you should check the lightfastness rating.
If you want your dark tones to stay bold over time, then you have to choose pencils with high lightfastness. Otherwise your black and deep shades will fade fast.
Build Layers Gradually
So, layering is the main part to get the dark, deep, rich tones. Many beginners make the mistake of pressing hard from the start.
That’s the fastest way to ruin your drawing. When you press too early, you flatten the paper’s tooth and once it’s gone, you can’t add more pigments.
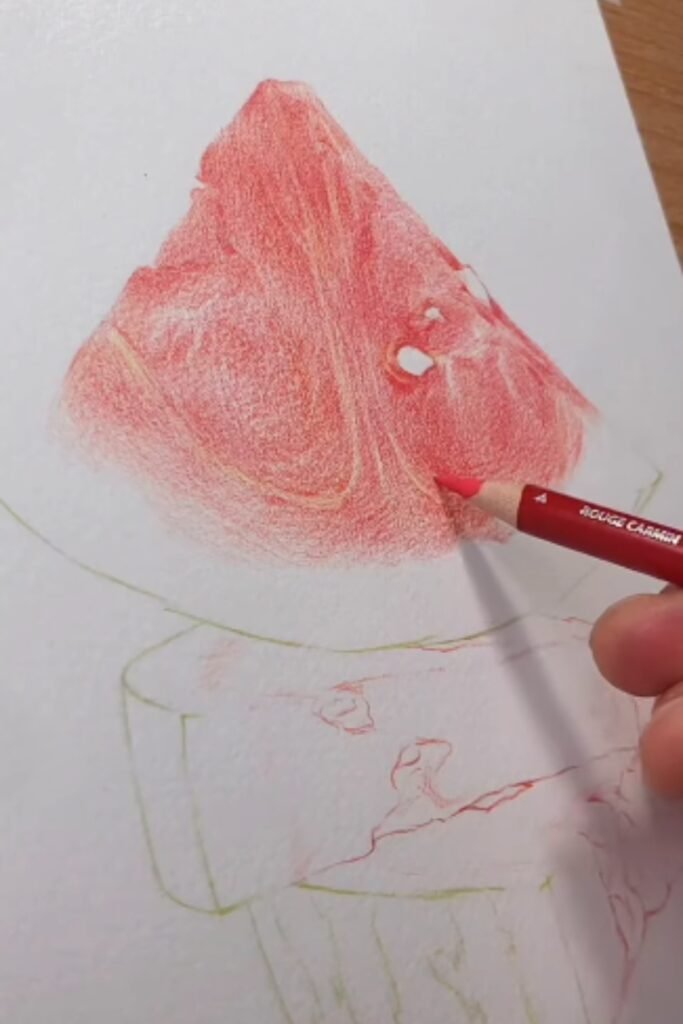
Start with light, even layers, go slow. Apply your first layer with gentle pressure, to cover the full area.
Then add the next layer on top, slightly increase the depth each time. If you want maximum darkness, you need to give your paper the chance to grab multiple layers of pigments.
Moreover, don’t rely on a single color. Layering related and complementary colors (which we will cover next) will help you to build a deeper, more natural darkness than using one pencil alone.
Use Complementary Colors
As we discussed earlier, if you want more depth than you have to mix complementary colors underneath.
Many people think adding black is the only way to darken a color but that’s wrong. Black can make your art look flat and muddy.
For rich, natural-looking dark tones, you have to learn how to layer complementary colors first.
Here’s how it works; every color has an opposite on the color wheel. When you lightly layer its complementary color underneath, it deepens the main color without killing its vibrancy.
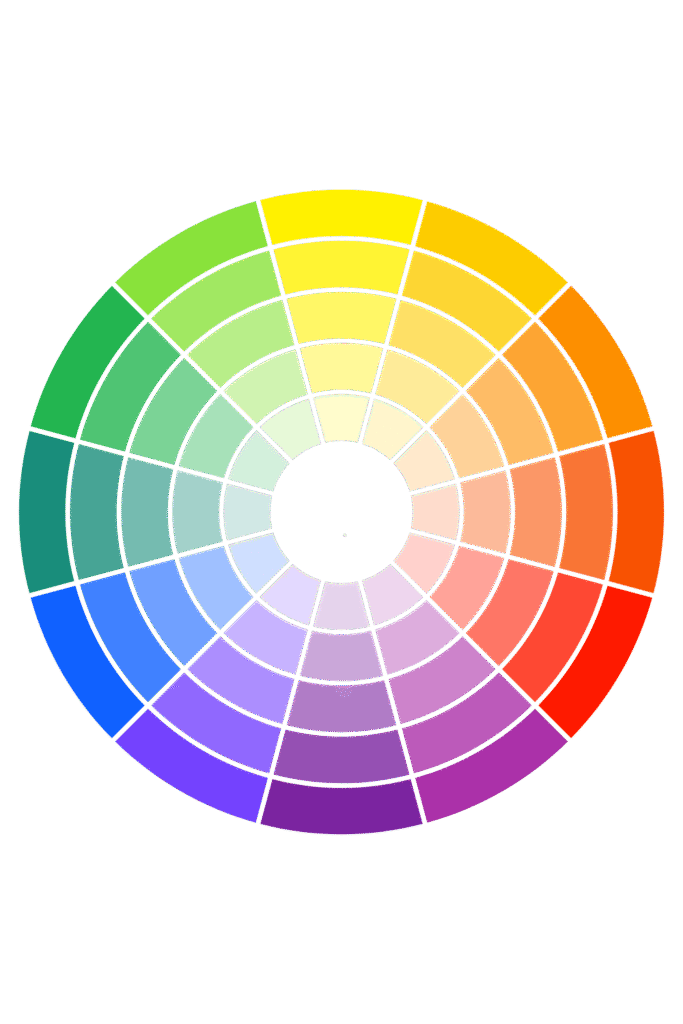
For example:
- If you want dark red, then you have to add touches of green or deep blue underneath
- If you want dark green, the you have to ad reddish-browns first
- If you want dark yellow, then you have to layer a light purple underneath
So, the goal is not to overpower it’s to build subtle depth. Add light layers of the complementary color, then layer your main color over it.
Repeat this process gradually. You will get a dark, rich tone with dimension not a dead-looking black patch.
Apply Firm Pressure at the End
We have talked about already that you shouldn’t press hard at the start, but increase the pressure only after building layers.
When you press hard early, you crush the paper’s tooth. Once that happens, the paper can’t hold more pigment, and your colors will look streaky, patchy and flat.
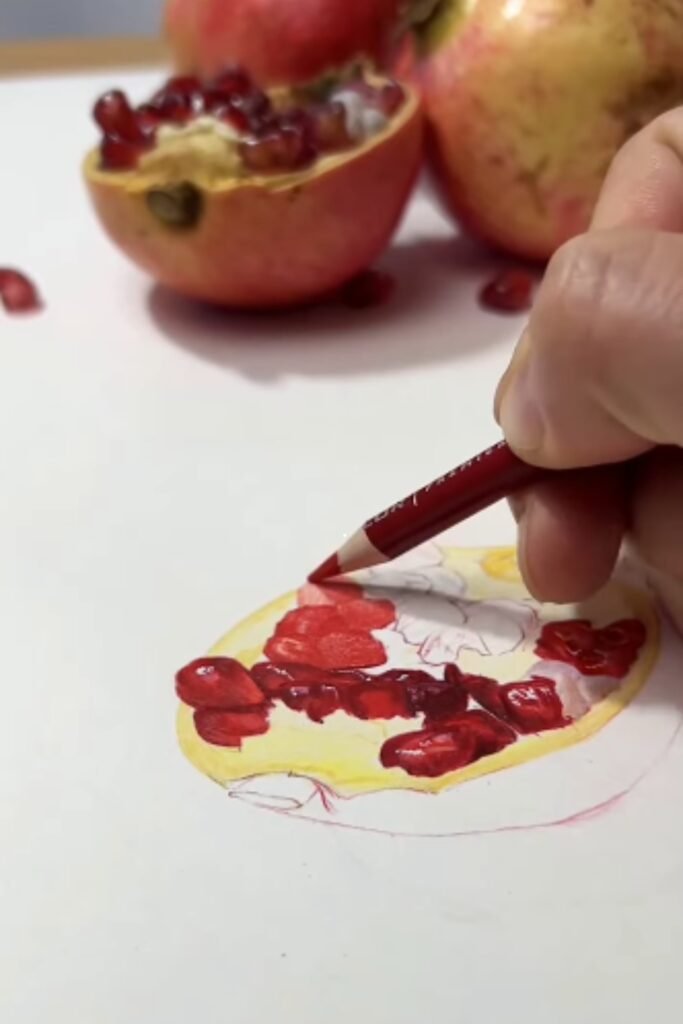
So, that’s why you should follow this order; first, build multiple light layers. Let the paper hold as much pigment as possible through gradual layering.
Only after you have reached about 80-90% of your desired color depth should you start applying firm pressure.
In this way when you press hard at the end you push the pigment deep into the paper’s surface, which creates a solid, smooth and dark layer.
Burnish for Extra Darkness
Burnish is what separates a flat-looking drawing from one with deep, polished color. Without this step, even the best layering won’t give you that final, professional finish.
Here’s what burnish process does; when you press very firmly with a colorless blender, white pencil, or a light version of the main color, it forces the pigment deep into the paper and fills the remaining tooth.
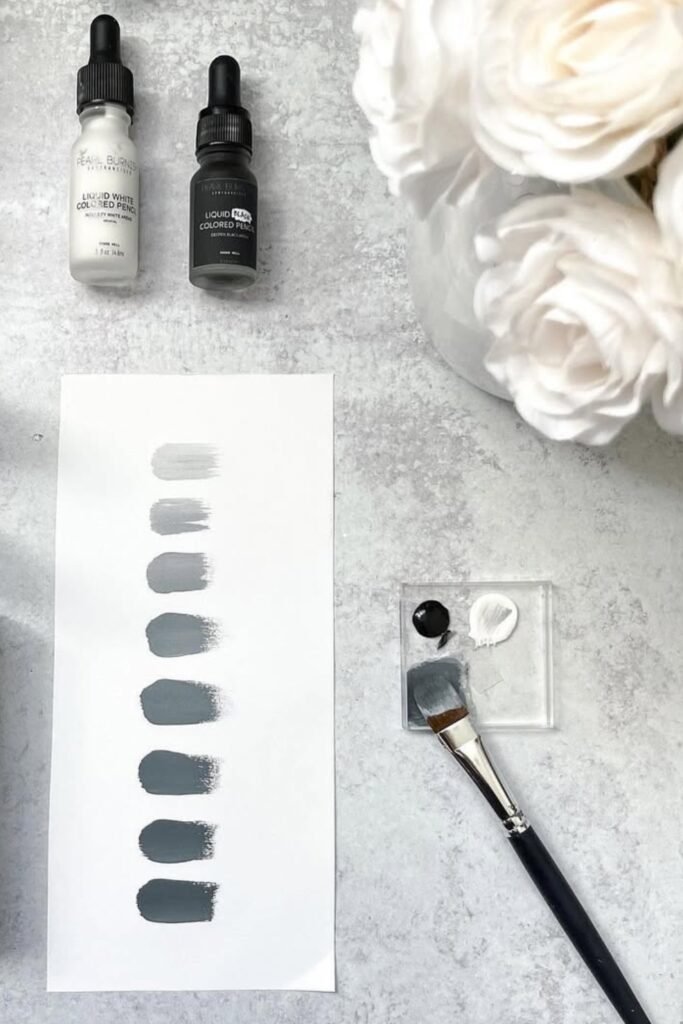
This creates a smooth, saturated surface that reflects less light-making your color appear darker and richer.
But you have to choose the burnish tool carefully:
- A colorless blender pencil is best when you want to deepen the tone without changing its hue
- A white pencil can soften and slightly lighten the color while still giving it a polished look which is great for certain effects.
- A light-colored pencil from the same color family helps burnish while intensifying the base color
Don’t Skip Blending Tools
If you want your colors to melt seamlessly and appear even darker, then you must have to use blending tools. One of the best options is solvent blending.
Products like odorless mineral spirits or specialty pencil blenders break down the binder in your colored pencils and spread the pigment smoothly into the paper.
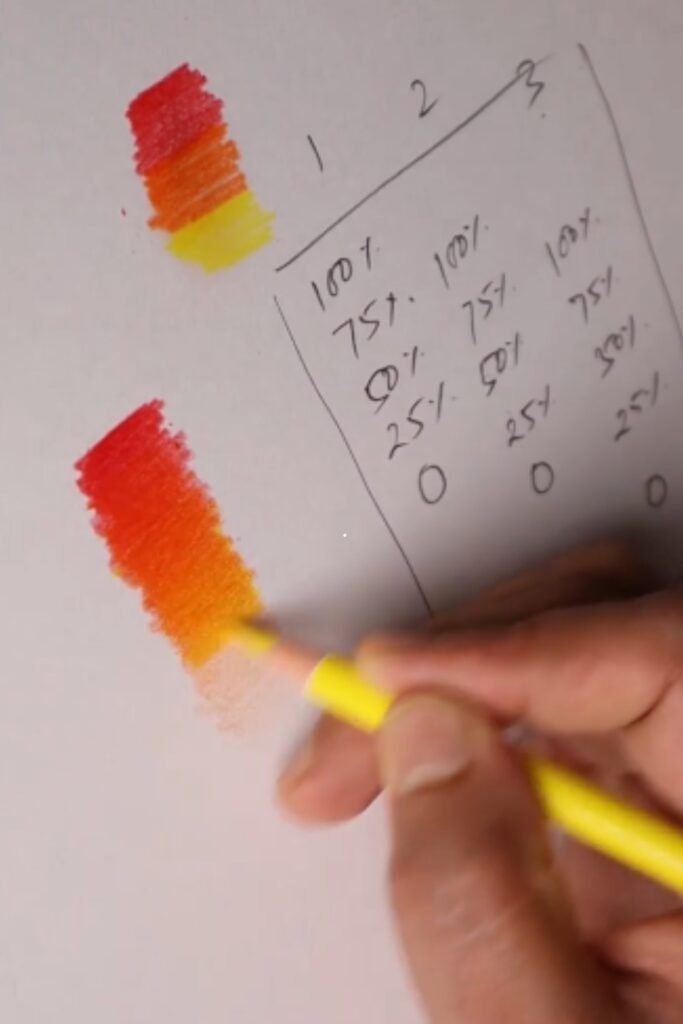
As a result this allows more light to be absorbed instead of reflected, and make your darker areas even richer.
You can also use the blending pencil, a tool designed specifically to smooth and deepen layers of pigment without adding extra color.
Conclusion
To get deep, bold colored pencil art you have to follow a process there is no shortcut.
Choose the paper carefully, pick the right pencils, start by layering the colors, use complementary colors for layering, only press hard at the end.
In this way you will get perfect dark, rich colors with pencils just like professionals done in their art coloring.
